Block: Timeline
The "Timeline" block is designed to display the stages of a specific action, process, or event on your page.
It is important to note that this block allows you to add and configure all the necessary stages to visually present the sequence of actions.
In the "Timeline" tab, you can add, change the order of, or delete each stage in your timeline. Simply drag the icon up or down to change the order of the stages. In the options menu, you will find options to edit, duplicate, or delete stages.
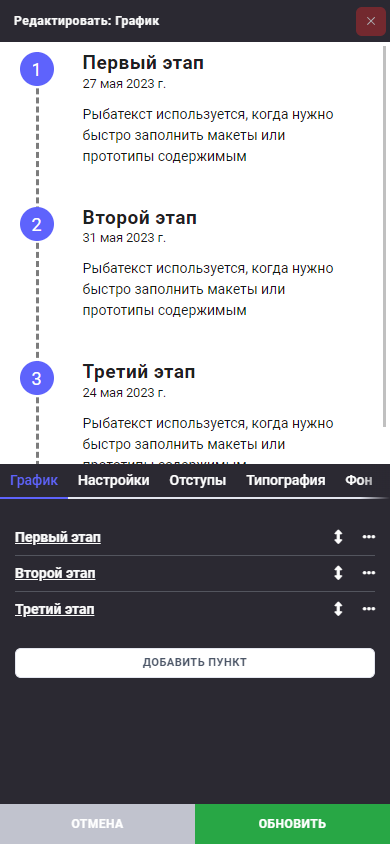
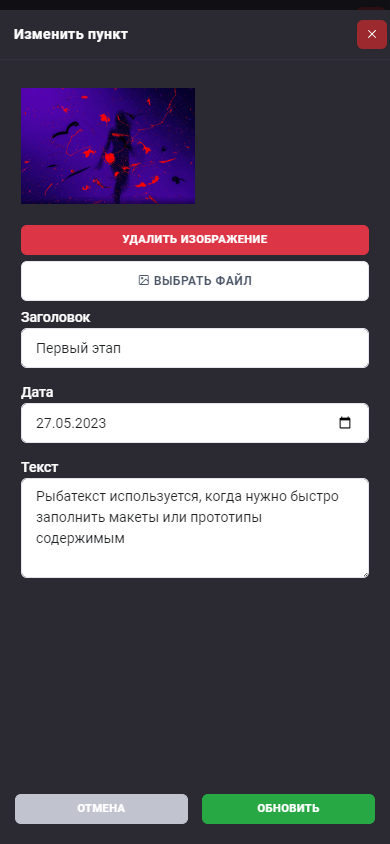
For each stage, choose a photo, title, date, and text that correspond to the stage. You can fill in only the required fields and leave the other fields blank.
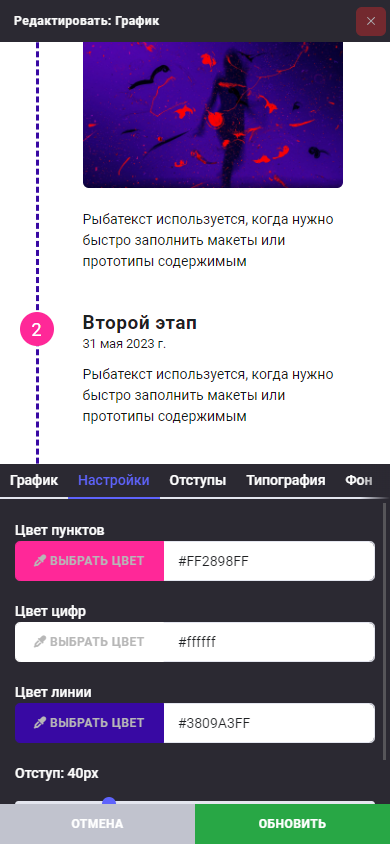
In the "Settings" tab, you can choose colors to customize the appearance of your "Timeline" block. The following options are available:
- Item color: sets the color of the circle containing the stage number.
- Number color: determines the color of the stage number inside the circle.
- Line color: sets the color of the dashed line that connects the stage numbers.
You can also set the spacing between stages to achieve the desired distance between them.
Don't forget to use additional tabs such as "Spacing", "Typography", "Background", and "Effects" to customize the appearance of your block and make it more attractive.
Don't forget to save your changes by clicking the "Update" or "Add" button.