Block: Section
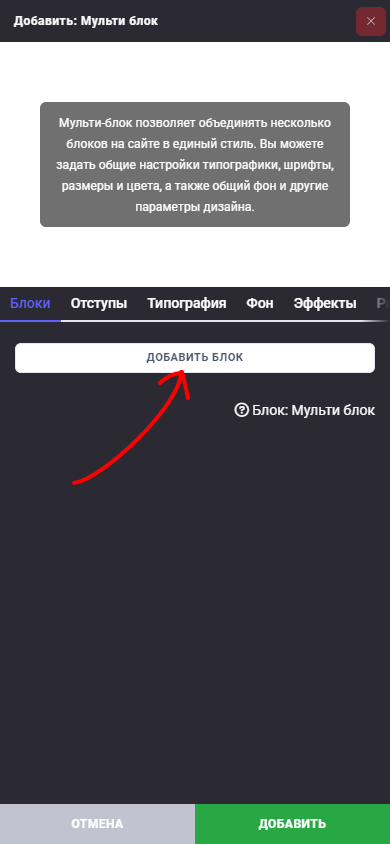
A Section is a powerful tool that allows you to combine multiple blocks on your website into a single group. It provides the ability to set shared settings for blocks, such as typography, fonts, sizes and colors, as well as background design and other parameters.
In addition, a Section allows you to freely place blocks within it, rotate and scale them, opening up endless possibilities for creating a unique design for your website.
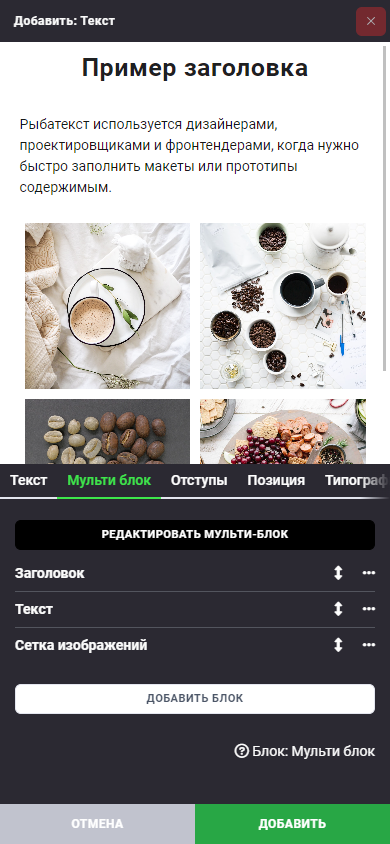
Let's create a Section example to better understand how to use it.
A Section has all the usual block settings, such as spacing, typography, background, and effects, just like other blocks in Mobitsa.
In the "Blocks" tab, you can add new blocks. Click the "Add Block" button, and the standard block catalog will open. It is important to note that you cannot add another Section inside a Section.
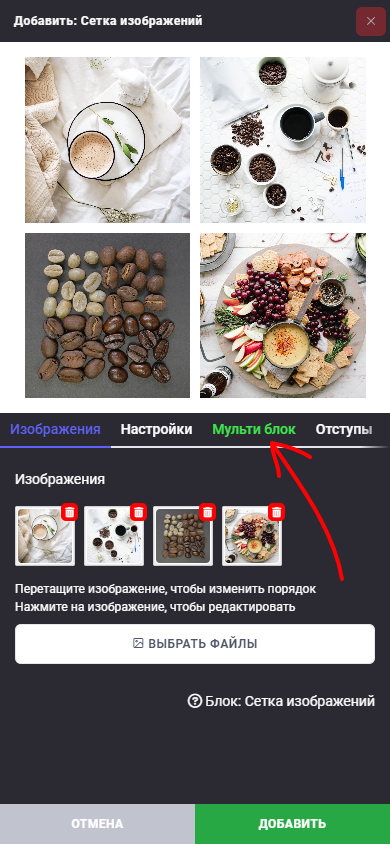
Select any block from the catalog (for example, Image Grid) and configure it. Now, because this block is inside a section, it has a new "Section" tab.
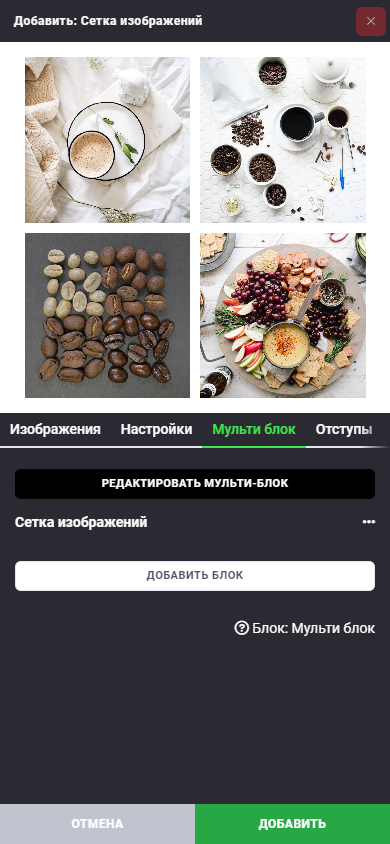
Go to this tab, and you will see our new block in the list that we just added.
Add another block, for example, Heading. Now we have two blocks in our list.
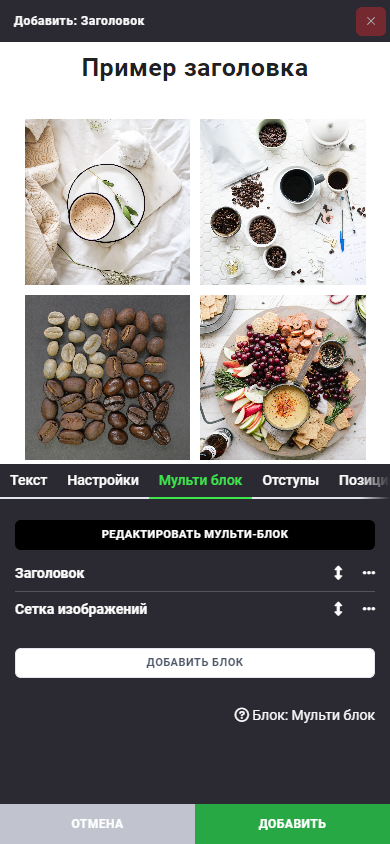
You can change the order of blocks by dragging them up and down using the icon. In the options menu , you can also edit, duplicate, or delete a block.
For clarity, let's add one more block, for example, Text.
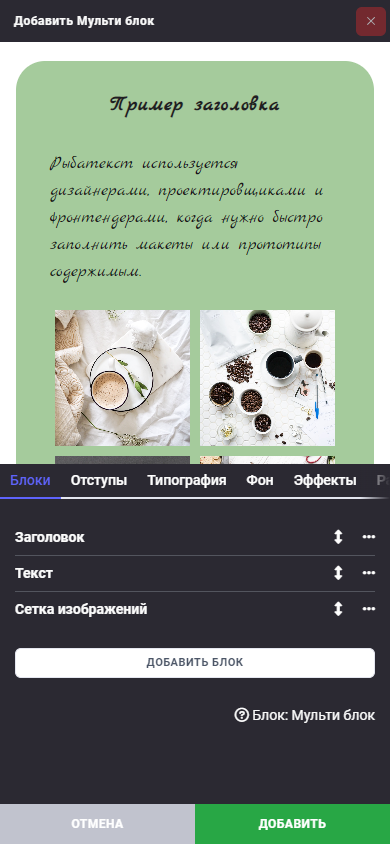
When we have several blocks in a Section, we can adjust their shared style and background. To do this, click the "Edit Section" button, and we will switch to the multi-block editing mode. In the "Spacing", "Typography", "Background", and "Effects" tabs, you can set shared settings for all blocks inside the Section.
Using a Section allows you to flexibly manage and style groups of blocks on your website. Experiment with different blocks, settings, and placements to create a unique and attractive design.
Block position settings
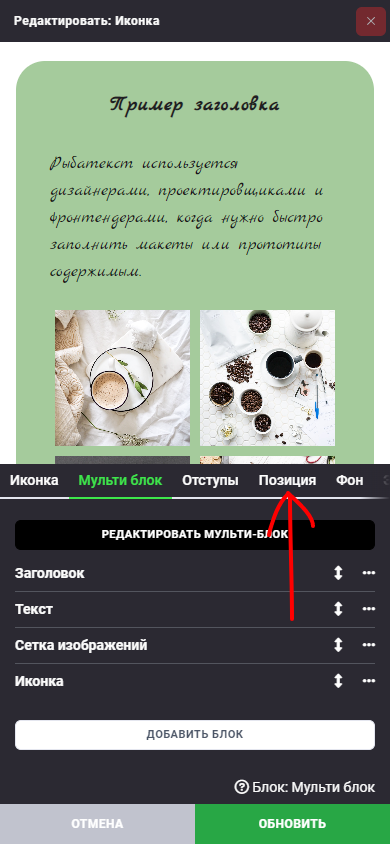
In addition to the "Section" tab, another tab appears in the block editor - "Position".
It gives you the ability to adjust the block's position inside the Section, giving you full control over the block's placement on the page.
For example, let's add an "Icon" block and go to the "Position" tab.
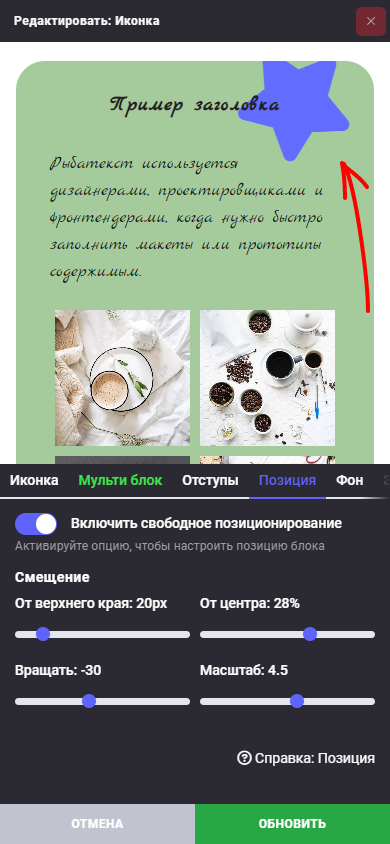
Enable the "Enable free positioning" option, and now you will have additional options for adjusting the block's position relative to the top edge and center of the Section. You can freely change these values to achieve the desired block position on the page.
In addition, you can also change the block's rotation and scale to create the desired visual effect. Use the available options to precisely set the block size and proportions.
Free positioning of blocks gives you greater flexibility in creating a unique design for your website. Experiment with different positions, rotations, and scales of blocks to achieve the perfect look that suits your needs and preferences.
Negative spacing
Another setting available for blocks inside a Section is negative spacing.
Let's add a new "Avatar" block to our Section. After configuring the block, go to the "Spacing" tab.
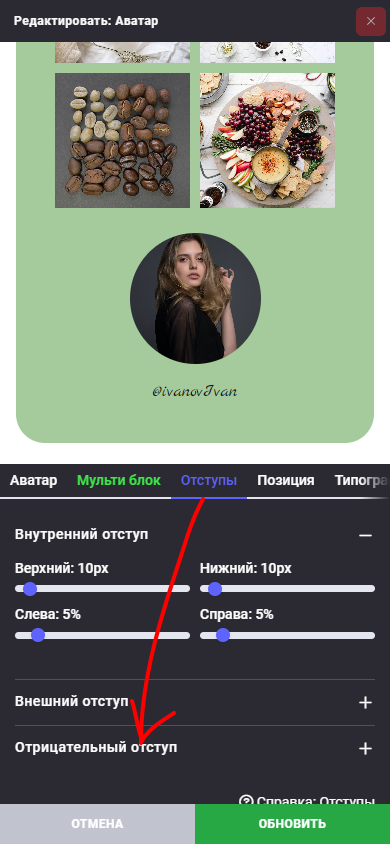
In the "Negative spacing" section, we can set a value for the top spacing. This will allow the block to overlap another block, creating interesting design effects and arrangements for your website.
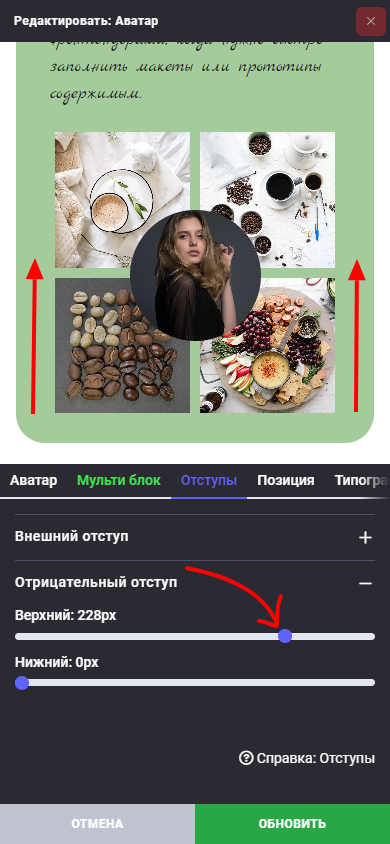
In addition to negative spacing, you can also adjust other types of spacing, such as "Outer" and "Inner", to achieve the desired visual effect.
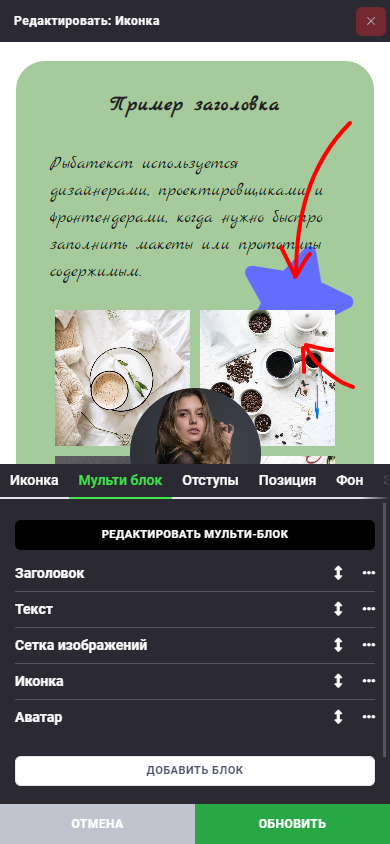
Layer order
Sometimes our blocks can overlap each other, especially if a block has free positioning or another block with negative spacing is applied to it.
If we want our block to be brought to the foreground, we can use the "Layer Order" setting. To do this, go to the "Advanced" tab and set the layer order value. A higher value will place our block in the foreground, overlapping other blocks.
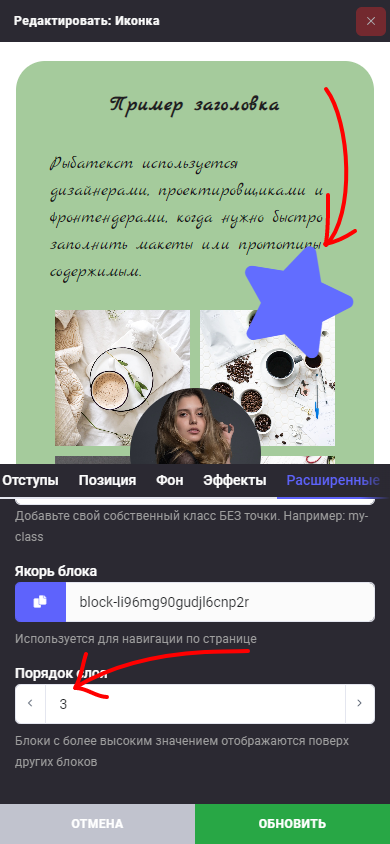
However, it is worth remembering that inside a Section, the next block in the list will overlap the previous one. This is important to consider when placing blocks inside a Section and setting the layer order.

Use the layer order setting to control which blocks are in the foreground, and create a harmonious visual look for your website.
Don't forget to save your changes by clicking the "Update" or "Add" button.