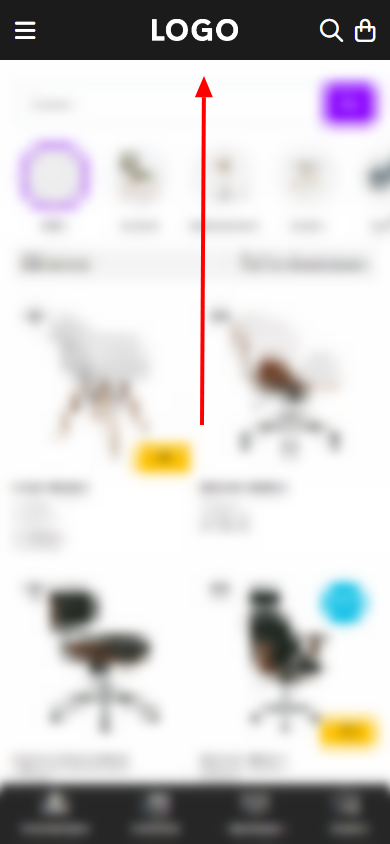
Site Header
The site header is the area where you can place various elements such as the menu, cart, search, logo, etc. This area will be available on every page of your site, and you can easily customize it to suit your needs.
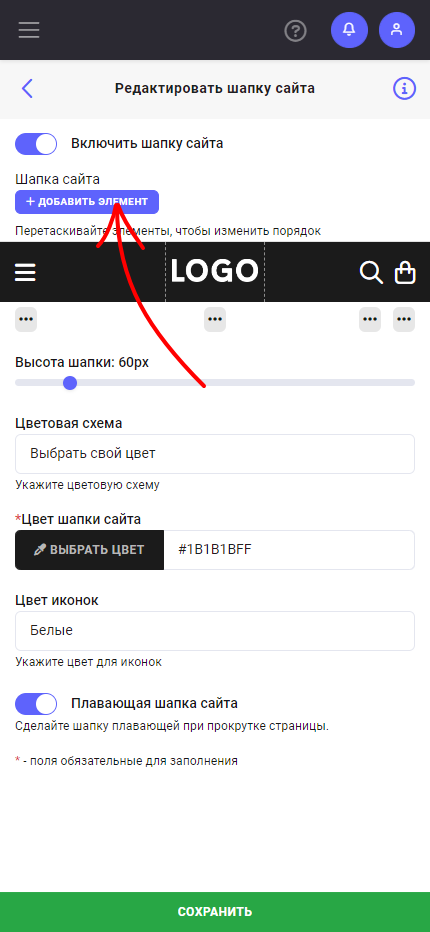
Go to the "Site Options" - "Site Header"
By default, the site header is disabled, but you can enable it by activating the "Enable Site Header" option. To add an element to the site header, simply click the "+ Add Element" button and drag the desired element to the desired location. Note that you have three areas: left, center, and right. You can move elements in the header simply by dragging them.
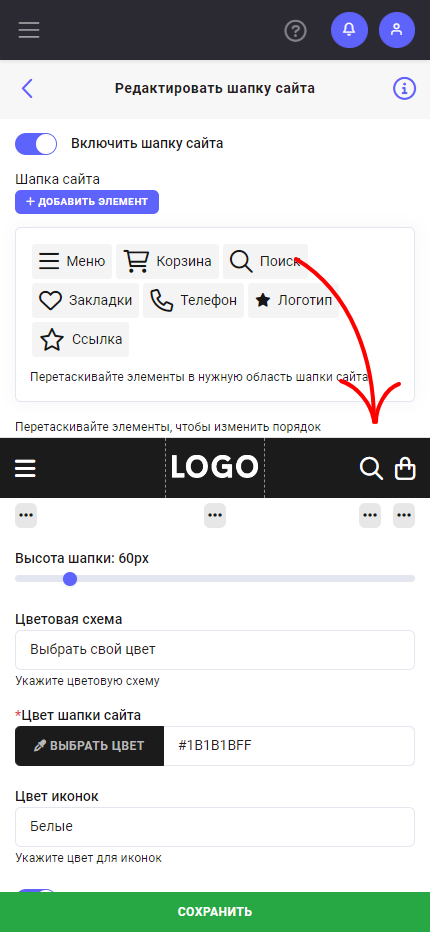
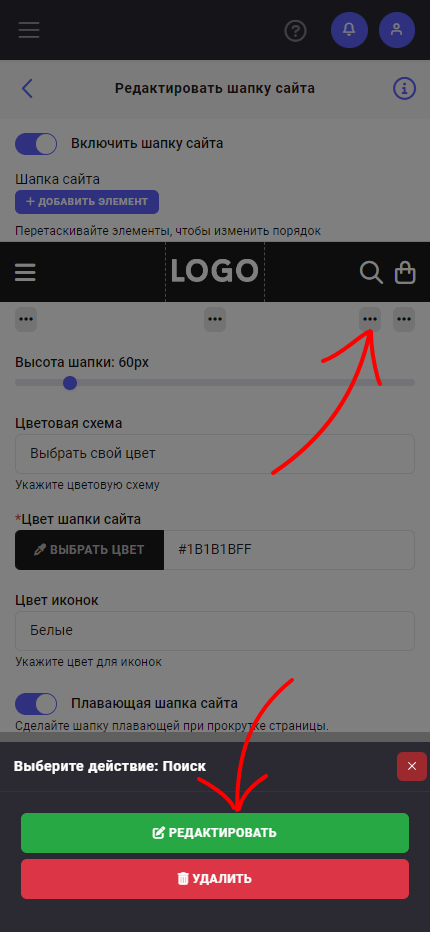
To configure an element, simply click it or the "three dots" menu under the element and select "Edit". You can choose from pre-made icons or select your own image.
Now let's look at each element separately:
Menu - is the global menu of your site, where all pages are displayed. You can choose the menu display type, such as a centered pop-up menu, sidebar, or slide-out panel. Note that the menu will open from the side where the element is placed in the site header.


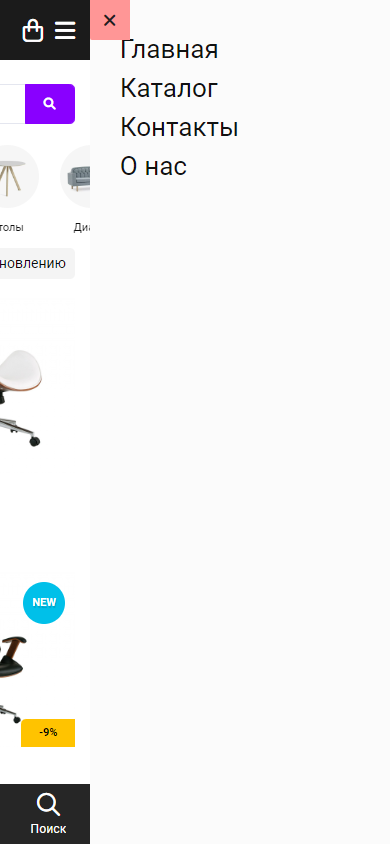
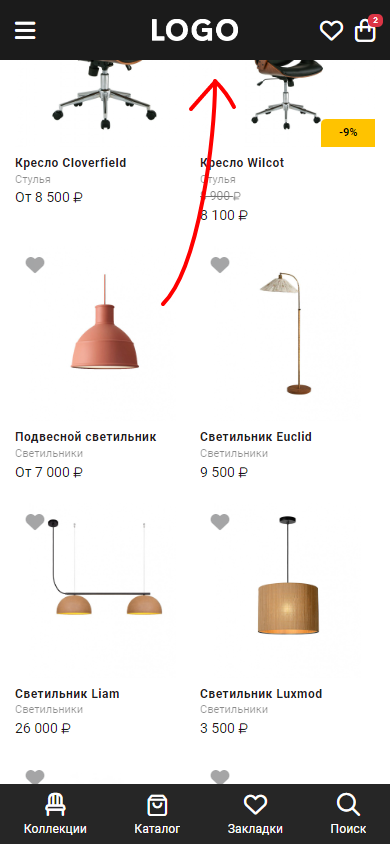
Cart - is an element that allows your users to open the cart and review their order.

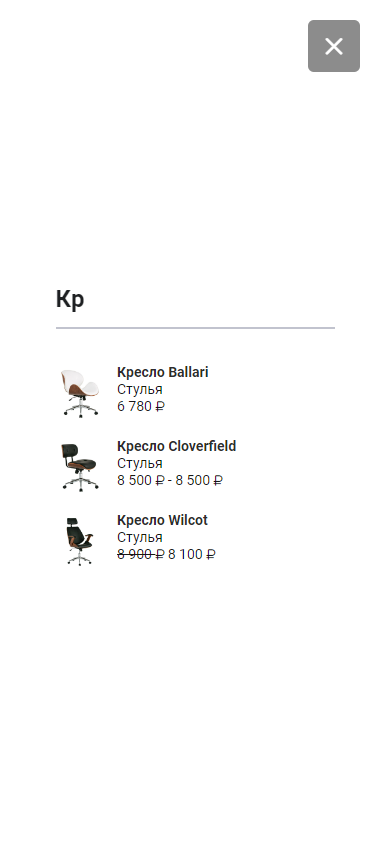
Search - an element that allows your users to quickly and easily find the product they need on your site.
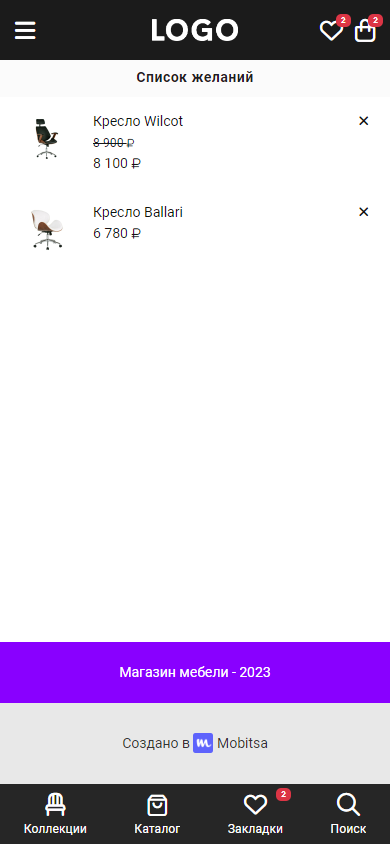
Bookmarks - allows your users to open the wishlist.
Phone - allows your users to make a call by clicking the phone icon.
Logo - is an element that displays your logo. You can choose its size using the slider.
Link - allows you to place a link to any page of your site, as well as to the product catalog, product category, product, or an external resource link. We recommend using links only for important pages or features of your site to keep things simple and user-friendly.
It is recommended not to add more than five elements to the site header to avoid cluttering the interface and to ensure convenient navigation for users.
If you need to change the elements in the site header, you can go back to the settings and make the necessary changes.
The next step is setting the header height using the slider. Simply choose the height you need and you’ll be ready to continue.
Now choose a color scheme for your header: white, black, brand, transparent, or select your own color. But note that when using a transparent color scheme, your header will overlap the content of your pages. Don’t forget to calculate the spacing on the pages to create a design effect with the transparent header overlapping the pages.

Next, choose the icon color to match your header.
Don’t forget about the "Floating Site Header" option, which allows your header to stay fixed at the top when scrolling the page.
And remember that the proper site header setup can greatly improve users’ impression of your site and make navigation easier. We hope this guide helps you set up your site header and make it perfectly suited to your business.