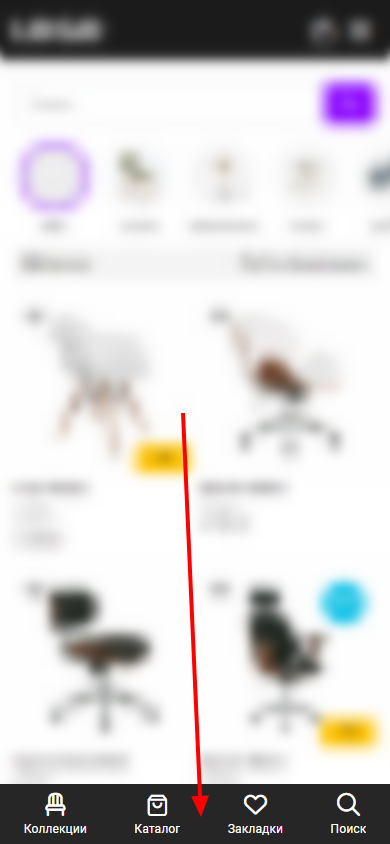
Navigation Bar
It is important to make sure the user can easily find the information they need. One way to improve navigation is the Navigation Bar, which is a section at the bottom of the site where you can place links.
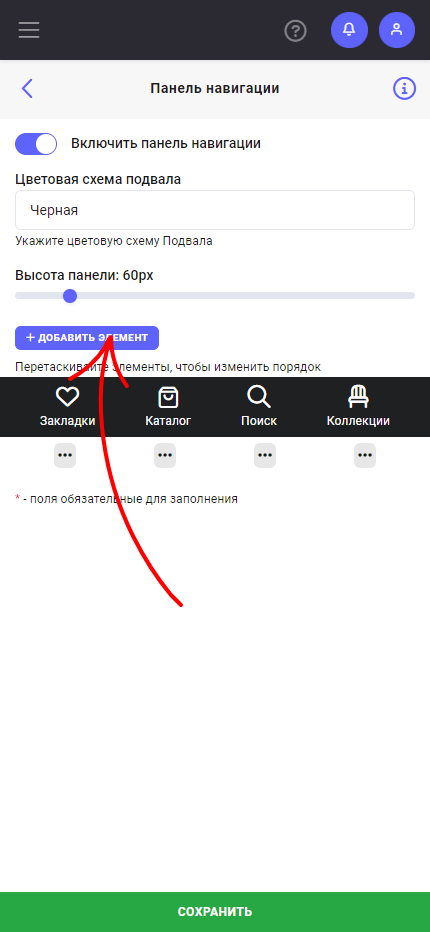
Go to the "Site Options" menu - "Navigation Bar"
First, to activate the navigation bar, you need to select the "Enable Navigation Bar" option. Then you can choose a color scheme from the preset color schemes and adjust the bar height with the slider.
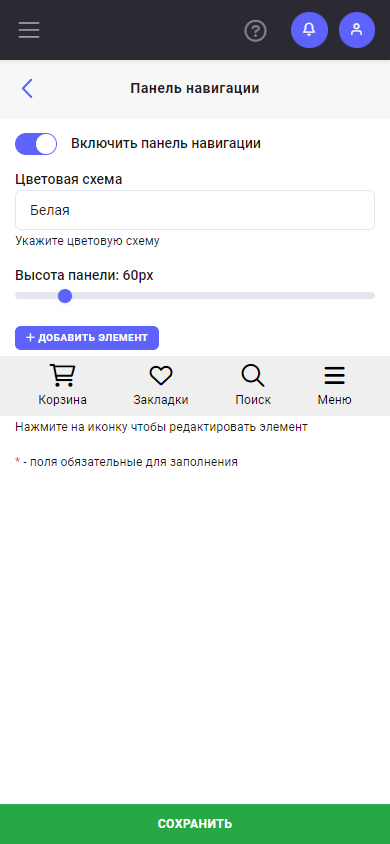
Choosing the right color scheme for your site can help improve its visual appeal and enhance the user experience. Choose colors that match your brand and appeal to your target audience.
To add a new link to the bar, click the "Add Item" button and drag the item into the navigation bar area. You can also reorder items by dragging them. To edit an item, click it or the three-dot menu under the item and select "Edit."
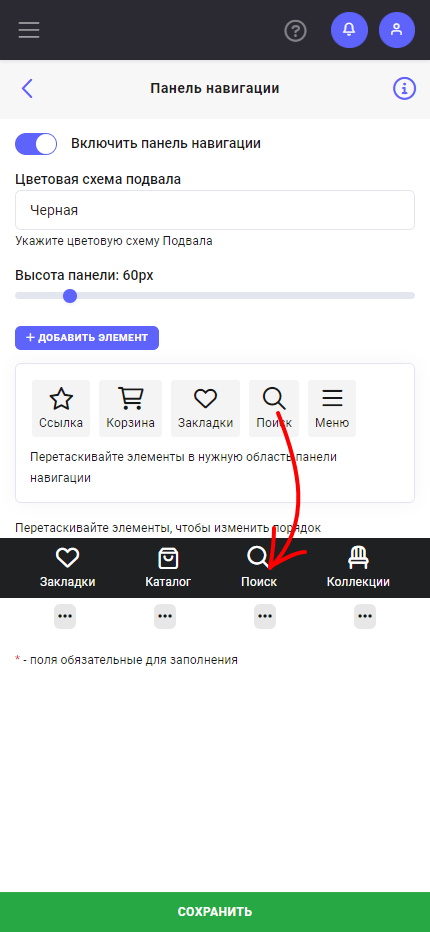

Now let's look at each item separately.
Link - Allows you to place a link to any page of your site or an external resource. You can enter short link text, choose an icon from the list, or upload your own image.
Cart - Allows your users to open the cart from the navigation bar. You can choose an icon from the library or upload your own image.
Wishlist - Allows your users to open the wishlist from the navigation bar. You can choose an icon from the library or upload your own image.
Search - Allows you to open product search from the navigation bar. You can choose an icon from the list or upload your own image.
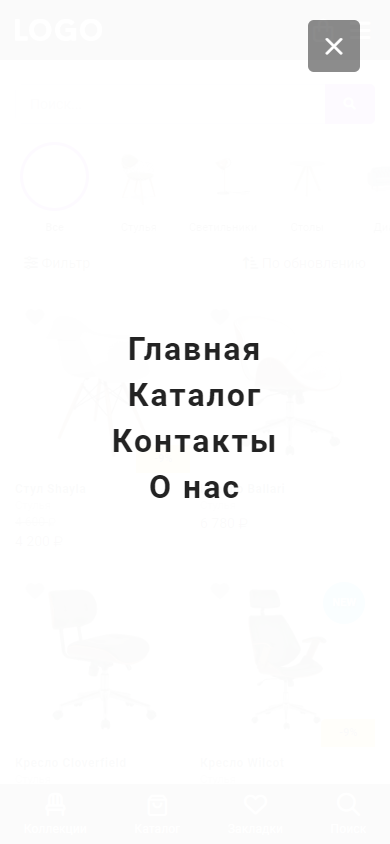
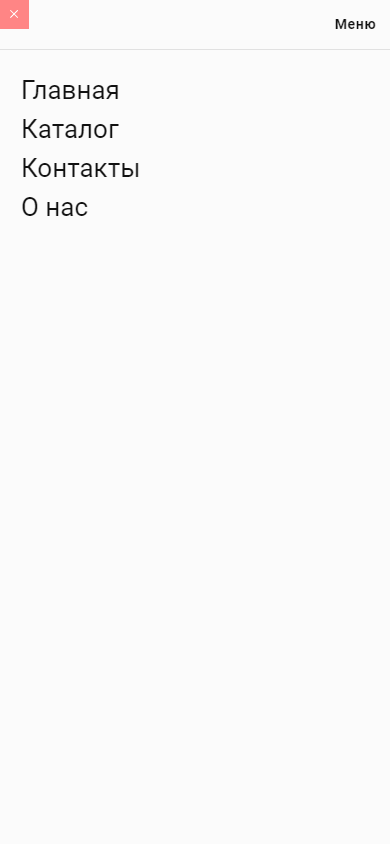
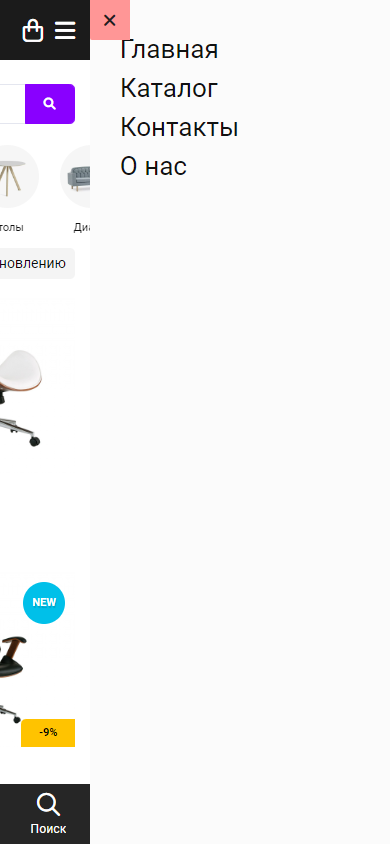
Menu - This is the site's global menu, where all pages of your site are displayed. You can choose the menu display type and customize the icon. For user convenience, you can configure different menu types depending on what works best for your site. You can choose a centered pop-up menu, a side panel that slides in from the side, or a sliding panel that shifts the site.
Click the "Save" button to apply the changes.